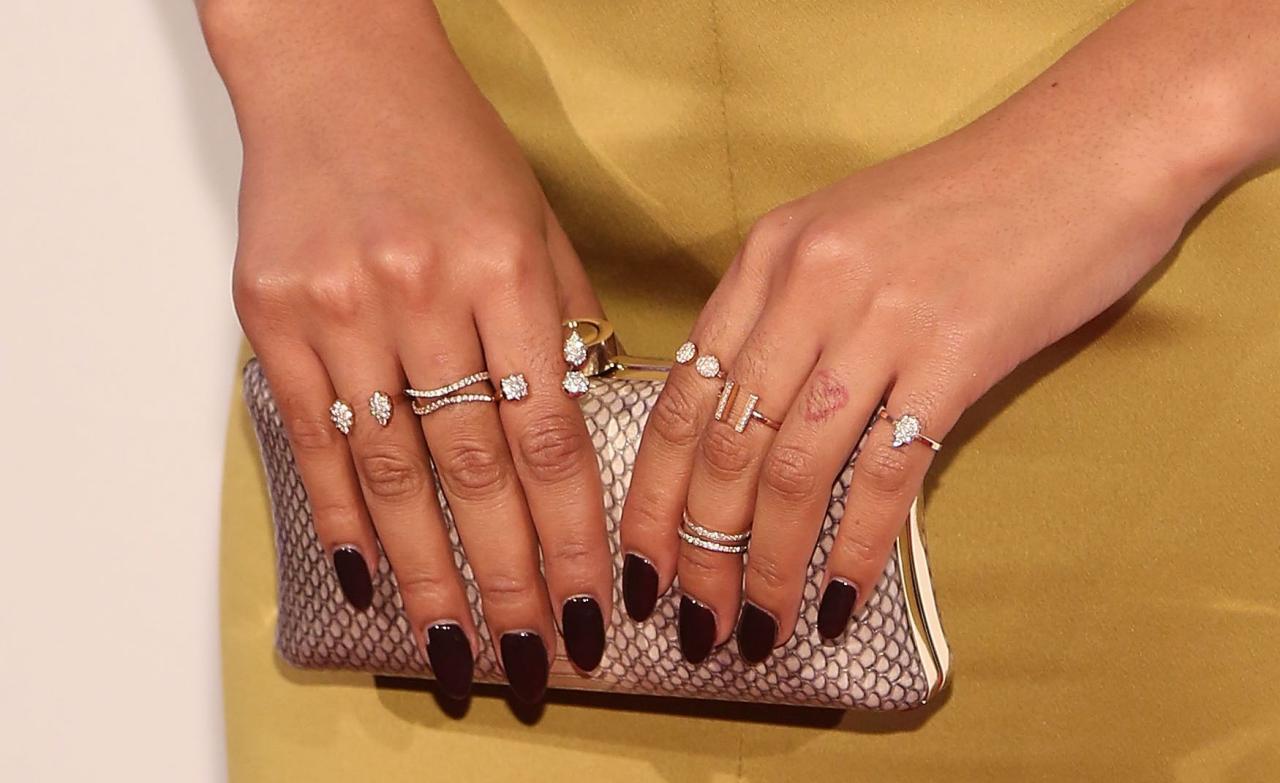
Following Kim Kardashian’s recent reveal on Instagram that her latest stiletto shaped French manicure was achieved using artificial ‘press-on’ nails, interest in the temporary technique rocketed. Indeed, Revolution Beauty reported that in the wake of her post, Google search demand for ‘press-on nails’ increased by 264 per cent.
While many of us are seemingly reacquainting ourselves with the stick on nail approach – most popular in the late ‘90s and early ‘00s – others have bought in to the handy manicure hack all along.
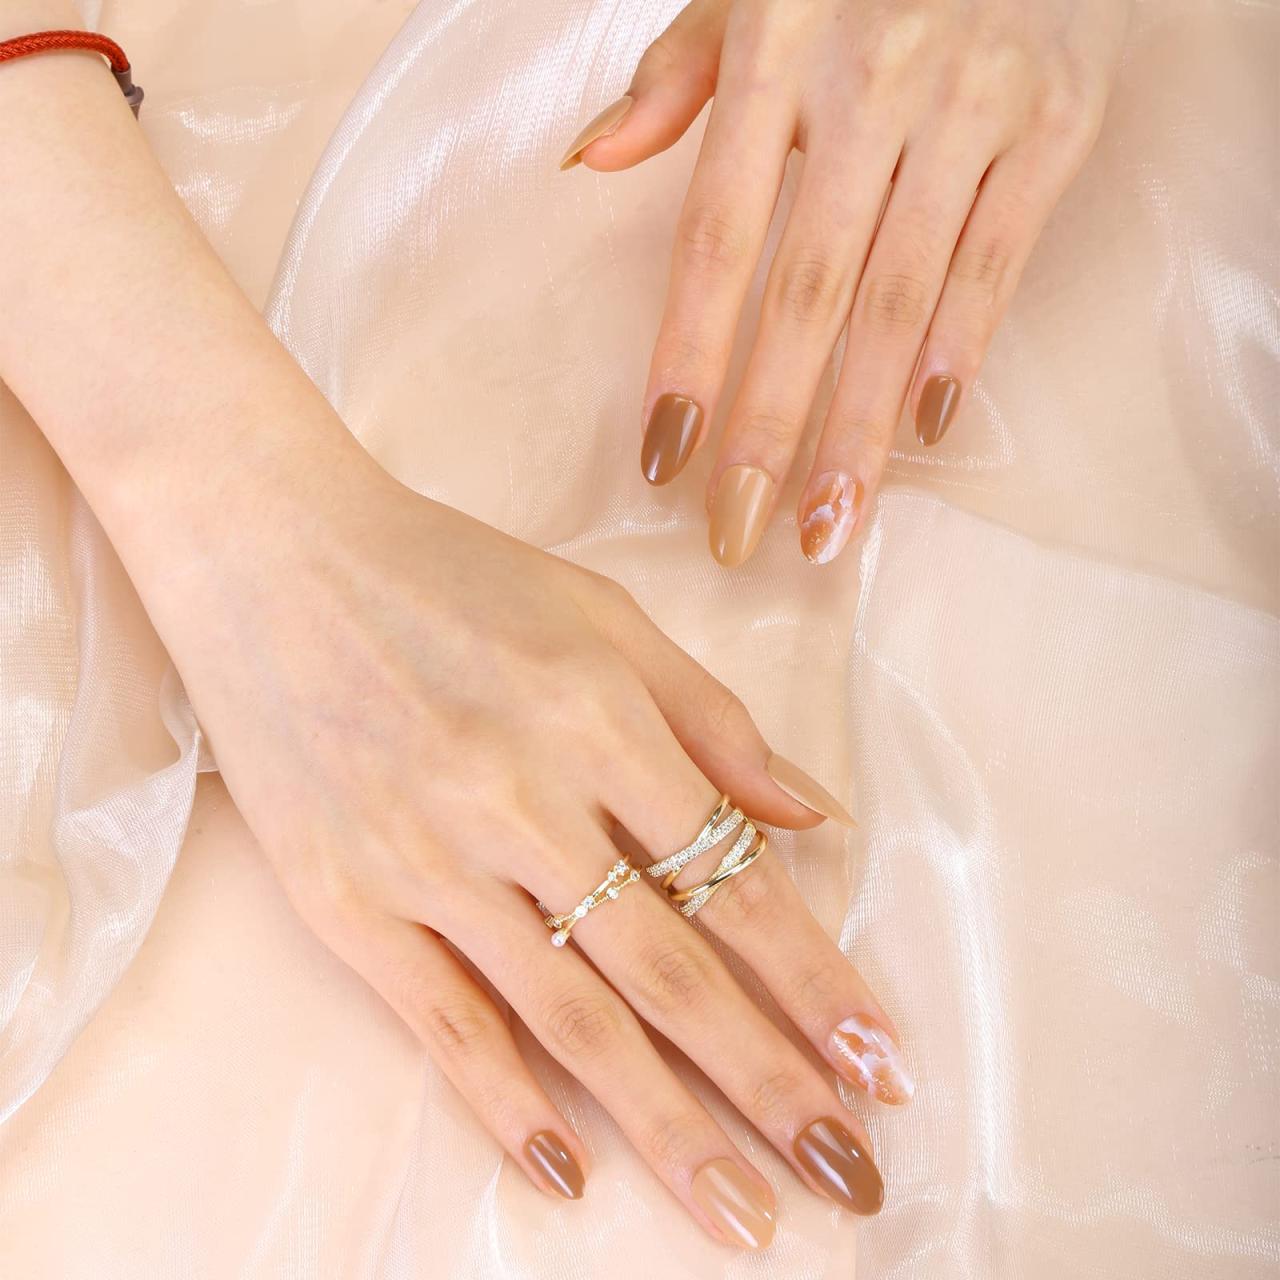
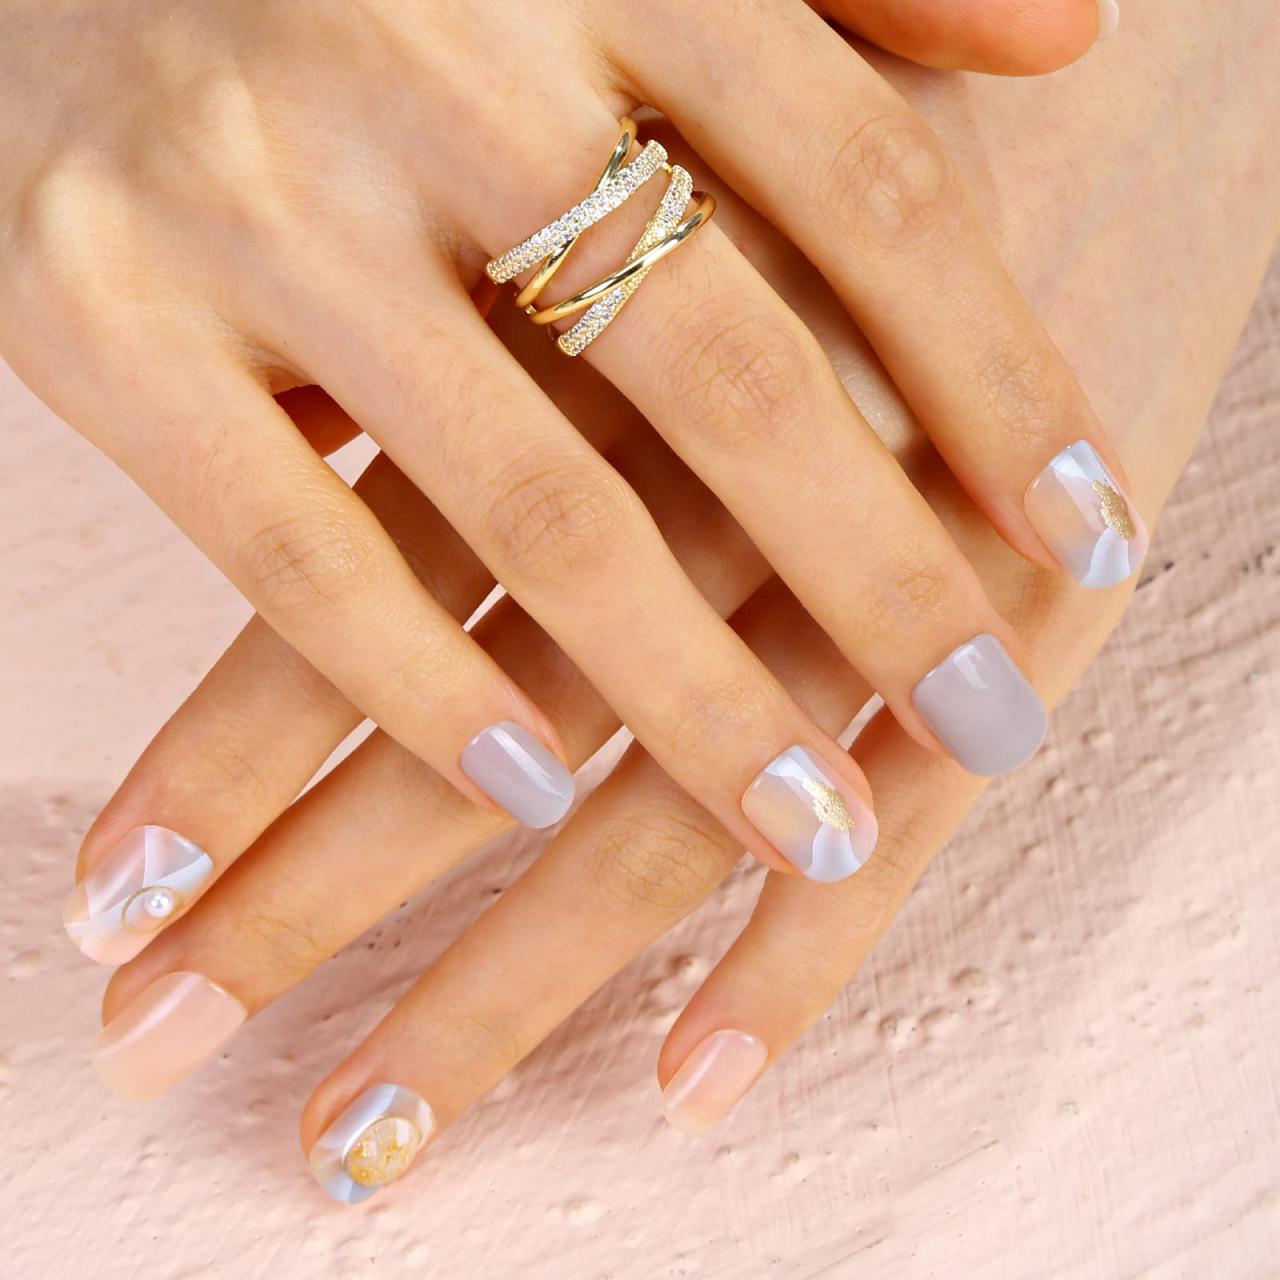
“Press-on nails are a great DIY choice, and the options are endless,” top nail technician Metta Francis tells Bazaar, revealing that many they’ve long been used by pros as much as for home use. “They’ve really developed in recently years and can look so natural now,” she explains. “You can choose a ready-made classic set of press-ons like a timeless squoval French manicure, or something more trend-led like long, almond shaped ‘donut glazed’ nails,” she says, referring with the latter to the creamy chrome look popularised by Hailey Bieber.
Various brands offer press-on nail kits for home manicures, from Revolution Beauty to Kiss and Nails Inc., with finishes ranging from neutral to flamboyant. They are possible to bespoke, too, if you want something more special. “You could commission a nail artist or technician to create a unique set of press-on nails just for you,” suggests Francis. “I have created many special sets of press-on nails for clients’ weddings or red carpets and special occasions.” She adds that this is a popular choice if you can’t – or don’t want to – keep your nail look once an event is over, “or if you simply want to change your nail look regularly and reuse the press-on nails”.

How to apply press-on nails

1) CLIP AND CLEAN YOUR NAILS
“For the longest-lasting press on mani, clip your natural nails short. Remove all polish and clean your nails well with soap and water to ensure a clean base for the false nail. If you have it to hand, also clean them with rubbing alcohol using a cotton ball and then dry your nails completely.”
2) MEASURE UP SIZES
‘’Not every nail in your press-on kit will be the same size. Check the number on the back of the press-ons; the smaller the number the bigger the nail size. Then match up all of your natural nail sizes to the appropriate number before you apply any of them. Doing this prep work will prevent you trying to find your size with wet nails or realising half way through that you have mixed up the nails. For an even better size match, file the sides of the press on nail to fit into your nail beds exactly.”
3) APPLY EACH ONE AT AN ANGLE
‘’One finger at a time, cover your nail with glue [if you are using glue, if not apply your self-adhesive to the press-ons], then bring the press-on right up to your cuticle line and apply at a downward angle. Follow by applying pressure to the centre of the nail and pinching at both sides to solidify the adhesive.”
Pro tip for if you do choose glue: “Apply your glue according to how long you want your press-on nails to last. If you’re looking to switch up your nail look just for the weekend, only use a couple of drops of glue. If you want your press-ons to last for a week or more, cover your entire nail in glue.’’
4) FILE AFTER APPLICATION
‘’While it may be tempting to file the press-on as soon as it hits your natural nail, wait until after you’ve applied the entire set to shape so you can make sure they are all even. Everyone’s nail beds are different so filing is key to making them fit your natural nails. Always file the nails from the sidewalls to taper them for a more natural look.’’
5) PAINT YOUR NAILS (OPTIONAL)
‘’If you opted for clear press-ons (as opposed to pre-painted ones), you can paint them to your liking once any glue is dry. Don’t forget a topcoat so that your polish lasts as long as your press-ons.’’
6) REMOVAL IF USING GLUE
“If you’ve applied with glue, place an acetone-based remover in a small ceramic dish and soak your nails for 10 minutes. This will let you gently ease the nails off.’’
This content is imported from instagram. You may be able to find the same content in another format, or you may be able to find more information, at their web site.


